12.30.2013

New RIDE for smmwheels

OUT WITH THE "OLD" IN WITH THE "NEW"


 Due to my disability I have not been riding as much as I would have liked. The weight of the F800GS (472 lbs wet) was just too much for me. I sold it and started my search for a new lighter dual sport. 

My biggest problem with the smaller dual sports was their seat height, lack of power, weight, center of gravity and to be honest STYLE. I had a BMW G650GS (423 lbs wet) ordered with low suspension to allow me to stand flat footed and thought was light enough for me.  When the motorcycle finally arrived at the dealership I could in fact throw a leg over it and stand flat footed with no knee bend. While standing over the G650GS, I could not manage to get it up off the lean of the kickstand and balance under my stance, still too heavy and I think overall tall.


After looking at many motorcycles like the Dual Sport Suzuki's, Yamaha's, Kawasaki's, KTM's and many others that were too tall, too heavy and not balanced. I decided to turn my attention to naked sport bikes that I could convert and ride year round.

I previously owed a 2009 Ducati Monster 1100 that I rode until the two of us went sliding through a corner at 45mph and only one of us survived intact. The 1100 Monster had incredible power to weight ratio and really was comfortable to ride long distanced. My first ride on the 1100 was a 400 mile trip through some the curviest roads of southeastern Indiana along the Ohio River. The 1100 was so well balanced that at times I realized I was cornering on one wheel, probably a little more power than I should have given it while turning. In the year and a half I owned it I managed to put over 10,000 miles on it and it was not at all set up for riding in temperatures below 45.


I noticed my local Ducati dealership had a used Monster 696 (407 lbs wet) @ 80hp within my desired price range. After looking at the 696 I decided to look at something with a little more power like the Monster 796 with full

Termignoni exhaust @ 90hp (I have heard that the full Termi exhaust save 15 lbs, I don't know if I believe that or not).

The 796 ABS Monster, at 414 lbs wet does not sound like a big difference but the low center of gravity compared to the G650GS made a HUGE difference for me. Compared to the F800GS the miles per gallon and horse power are about equal, the big saving is the weight difference of 60 lbs. About the only
thing I am giving up is some MPG on the G650GS compared to the Monster. 
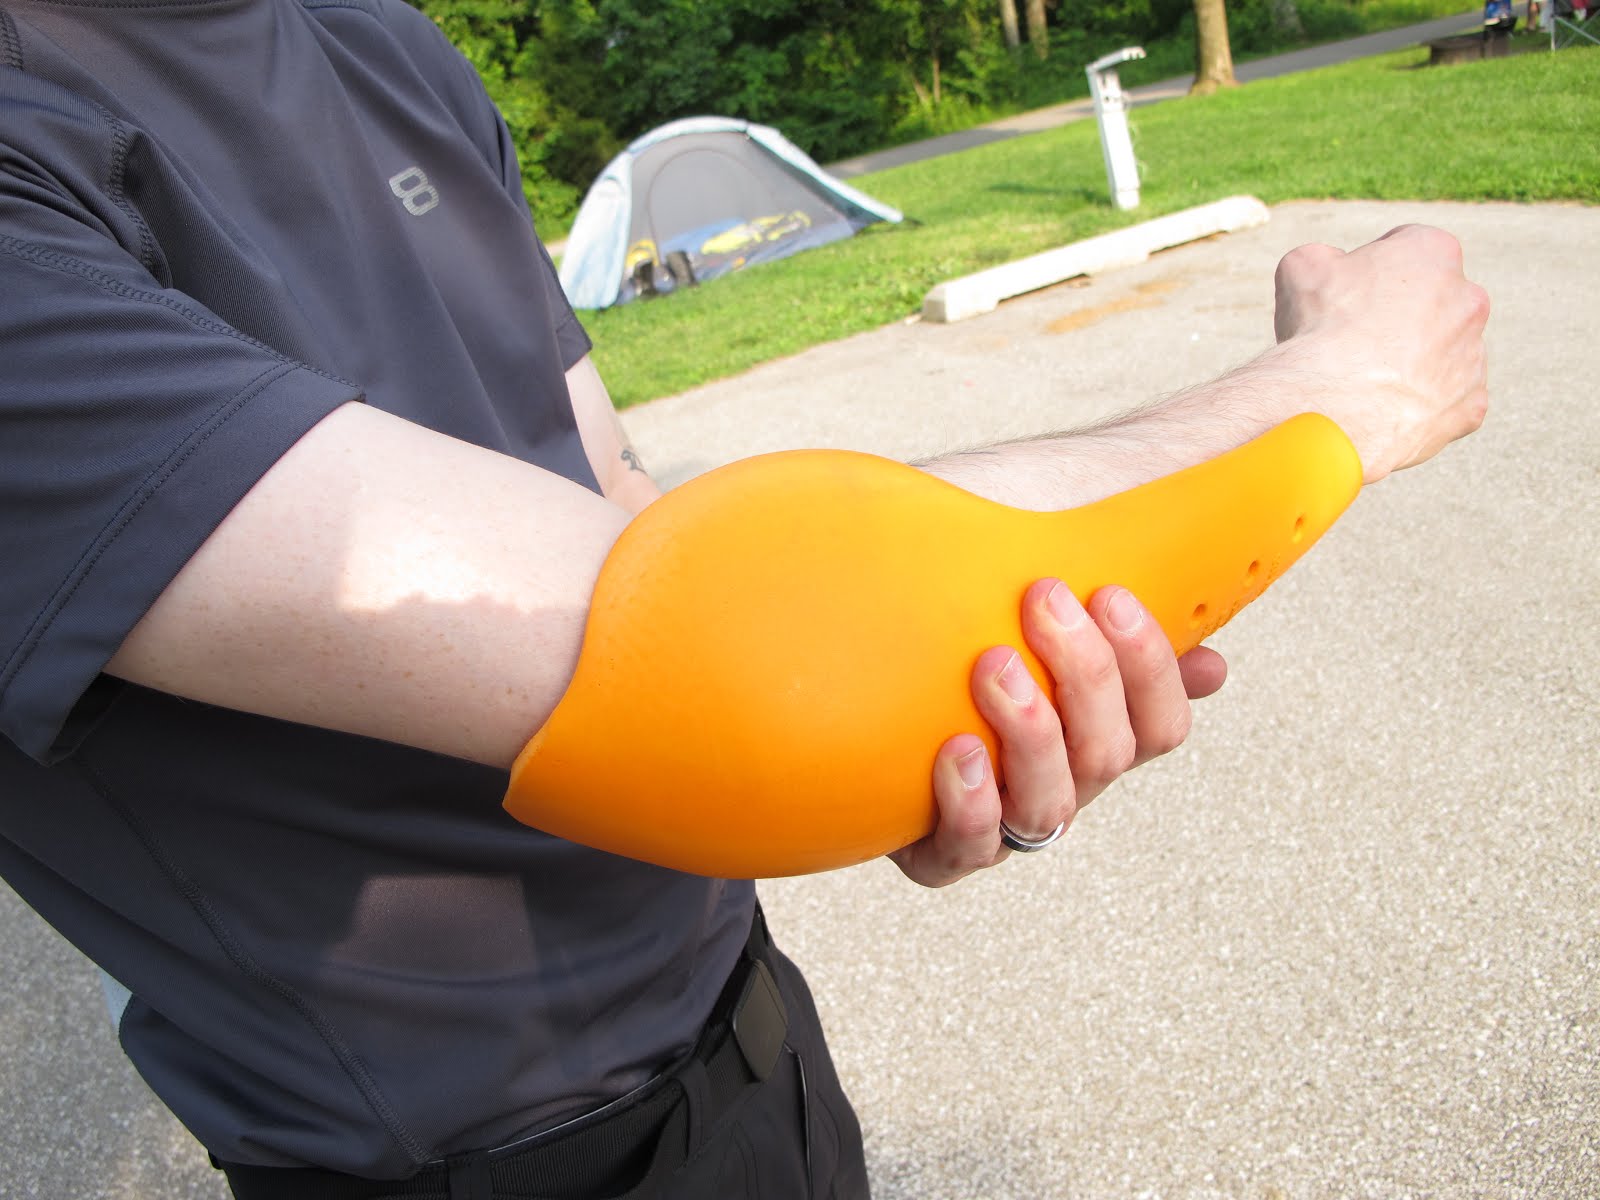
  • I got a good deal on this motorcycle and only need to change a few things. It came with two different tires. The rear tire is the Pirelli Angel ST which has decent ratings for all season use. The front is the Pirelli  Diablo which will need to be replaced if I plan on riding it below 45 degrees. I would like the best of both world as to have tires that are sticky and hold high speed corners in the summer and give me excellent traction in the winter. 
  • Since this is considered a "naked" sport bike there is not much available in the way of luggage capacity. I have always been a big fan of Wolfman luggage and have retro-fitted my Rainier Tank bag to fit the Monster. The rear Wolfman Tail bag I already had will be retro fitted as well. When I need major volume for road trip the medium Rollie bag should just strap on the rear on the motorcycle with no problems.  
  • The only other thing I will probably change is the color of the tank and seat cowl. It came with the front bikini fairing that I took and replaced with the electronics cover it came with. On the Ducati Monsters they designed it so the colors could be customized. Ducati sells painted covers for around $700 in a kit that contains the 2 tank covers, the seat cowl, bikini fairing and front fender. I don't need or want to spend that amount of money. I will just get the 2 tank covers and the seat cowl painted to a color I like and nobody else has. The front fender is carbon fiber, so it can stay the CF color. 
  •  With this new smaller lighter motorcycle I will be riding every chance I get. I miss the old days when I was putting major mileage on my motorcycles. This may not be the best bike for long trips but I will make it work since most of my riding will be local and short trips down to the curvy roads in southern Indiana. Although my dirt days and river crossings may have temporarily come to an end, I will always find an enjoyable ear to ear grin inspiring road around the obstacle.     


    12.17.2013

    Moto Foto Monday Tuesday: B&W Edition

    The winter days can seem pretty monochromatic, so let's stick with that theme!


    And last but not least, a little Krampus for your holiday festivities.


    12.09.2013

    Moto Foto Monday!


    This weeks MFM theme is inspired by the film "Why We Ride".  
    So, it will be motorcycles of all sorts! 
    Because all bikes are cool in there own way. 


    (Only three of these pics belong to me, the rest are property of their owners. If one of them is your image and you'd like me to remove it, just let me know.)

    11.15.2013

    Motorcycle Camping with Sleep Apnea


    In preparation for a motorcycle camping trip, I had some new considerations to accommodate my recent diagnosis of Sleep Apnea. 

    It had been awhile since I last went backpacking and a thorough inventory of my equipment was a must.  Proper storage, good equipment and care has kept my equipment in nice condition over the past 8 years. Digging through my camping storage bin revealed most all the equipment I would need. Much of what I found in that bin will cover most of my needs however, being recently diagnosed with Sleep Apnea has put some constraints on the sleeping freedom I had taken for granted.

    Every night since my Sleep Apnea diagnosis I have had a ResMed S9 Auto CPAP machine clung to my face like an alien face hugger from the movie Alien. With a sleep dependency as my top concern, finding an alternative power source that could run my CPAP machine while I slept at night was my top priority. 

    While my riding group were still in the trip planning phase, I stopped into my local medical supplier to acquire a power adapter and battery that would give me some independence from the AC power outlet I'm currently chained to. Unfortunately, the medical supplier had only the necessary attachments to run my CPAP machine from a 12-volt power source but not a 12v battery.

    The accessories I was given had some large alligator clips to attach to the terminals on a 12 or 24-volt battery. On the other end of the clips was a car lighter receptacle. The power supply provided for the CPAP machine had a male car socket that attached to the receptacle leading from the battery. My next problem was finding a battery that was light enough to carry on the motorcycle and backpacking, durable, and could power a the machine for a a minimum of 8 hours.

    Several options came to mind ranging from RC battery packs, car batteries, even power wheel batteries. After doing a bit of research I decided the best option would be an Absorption Glass Mat battery. An AGM would provide the benefits of a deep cycle battery while keeping the battery light and leak free.


    MagnaPower AGM Battery with ResMed Power Supply
    Confident that the CPAP would run for the amount of time I needed it to, I charged the MagnaPower battery using a automobile battery charger and began packing the bike for the trip.

    Stopping into the local auto part store, I found was a small 12-volt ATV battery with 180 cold cranking amps which would provide a 10amp hour run time. Produced by MagnaPower. Sealed and rugged, these batteries can take a beating and can out perform a deep cycle battery on discharge and charging. The price of the battery was around $75.

    Eager as I am to try new things, I attached the accessories to the battery and ran my CPAP machine for 1 night at home. When I woke the next morning the machine was still running. The battery came pre-charged with a voltage reading of 12.45v. After running the CPAP for 7 hours from the better the voltage indicated 11.45v. Given that the machine was still running I would presume that at a certain voltage the power supply will cut off.


    Unpacking and assembling the CPAP machine was a breeze. At night I protected the battery leads, using the box, just in case I kicked the battery over in my sleep. The machine ran a full 6-8 hours and in the morning I was able to charge my phone from it as well. 


    More recently I've been doing research on this particular battery and the power consumption of the CPAP machine. ResMed provides a nice guide that explores each model, the amp draw at different power settings and a recommendation for the size of battery. According to the chart I would need to use a 12 amp hours per  8 hours of continuous power and ruining a treatment pressure of 10 on my ResMed S9 Auto CPAP. Here is a link to ResMed's Battery Guide

    Though this battery worked for a single night, a daily charging solution will need to be considered. I will be looking into a solar charging option that will also work as a tender for the battery. The solar charging option will give me the ability to charge during the day with out the need to tap into my alternator and risk over taxing it. Overall though, I would recommend purchasing a larger battery that at minimum would last 2 days or if weight isn't a concern, a more traditional sized battery.


    11.13.2013

    Riding to Work: A look at my daily carry

    Being a gear, gadget, and a lots of stuff kind of guy I carry a lot of "essentials" with me from day to day.

    Trying to keep my riding items to a minimum, I left the house today with what I considered to be necessary for the day. Those items break up into 3 categories: cold weather riding gear, clothing/accessories, and work related items. Here is the basic break down.

    Cold Weather Riding Gear

    • Boots
    • Smartwool Socks
    • Riding pants with thermal liner
    • Wicking Shirt
    • Wicking long sleeve base layer
    • Riding jacket with thermal liner
    • Balaclava
    • Ear plugs
    • Heated riding gloves
    • Helmet
    • Sena SMH-10

    Clothing/Accessories

    • Shoes
    • Jeans
    • Shirt
    • Jacket
    • Hair gel 
    • Phone
    • Wallet
    • Charging cable
    • Large duffle bag

    Work Items

    • Misc Papers
    • Notebook
    Items that always stay on the bike include, disc lock, cable lock, tools, rain gear, extra ear plugs, and rain covers for all soft bags.

    I park my bike in a large public lot outside my work. Being that I only have soft bags, it is impossible for me to properly secure something on the bike. As a result I carry almost all of my items into work. Slipping into a bathroom stall, a lackluster superman interpretation, I change and pack all my items into two bags. A large duffle and my tank bag. The duffle contains my boots, jacket, and helmet. My tank bag holds my pants and other smaller gear items.


    Though not ideal, this method has so far been the most compact way to  carry my gear into work. I'm hoping that some hard cases will remedy this situation but for now I'll make due.

    If anyone has another suggestion please feel free to leave a comment below.

    11.12.2013

    Yamaha Seca II - Clutch Cover Oil Leak

    Spontaneously during a long trip this summer my 1993 Yamaha Seca II developed an oil leak. From what I could tell, the leak was coming from the right side of the motor concentrating itself on the oil pan. From what I could tell, the oil leak would only appear when the motor was running and under pressure.

    Along with the oil pan, oil spray had covered the bottom of the swing arm, and exhaust. Curiously the leak would stop when the engine cooled down.

    Justifying to myself that it was time for an oil change anyway, I went ahead and pulled the oil pan.

    It didn't take long to remove the exhaust and the oil pan bolts however, once I had gotten the pan free I noticed that the paper gasket had delightfully mated itself to both the pan and motor. After more than an hour of scrapping and an entire box of razor blades, I had the pan and the motor prepped for the new gasket. The installation was event free although I did notice that I could not find a tightening pattern for the oil pan bolts in the shop manual.

    A quick ride around the block revealed that I did not solve the oil leak. I started questioning everything. Was the pan warped? The crankcase breather clogged? Oil cap loose? I began combing over the bike. I removed the gas tank and checked the breathers and upper portion of the motor. From what I could tell, the leak was low. None of these questions would be answered until I began a new project, the exhaust.

    As part of my maintenance when changing the oil and pan gasket I decided I would repack the Yoshimura 4-1 exhaust. Trying to repack the exhaust was nightmare. After several attempts to remove the muffler I enlisted some extra man power and an assortment of destruction ensuing tools such as, a large vise, chisels, rubber mallets, and a blow torch. When I was left with a charred contorted Yoshimura I came to the comforting conclusion that this pipe was better suited for the trash.

    The day I dumped that pipe I ordered a set of Delkevic 450mm Oval Silencers (review to come). During the installation the new exhaust I noticed a mark on the side clutch cover. After the installation I fired the bike up and looked over the exhaust. It was then that I spotted the leak. The leak had been coming from a small section of the clutch cover, running down the lower side of the motor and spreading across the oil pan gasket. I quickly ordered a gasket from my local Yamaha.


    When I received the new gasket I began the unbolting process. With two bolts successfully removed the third bold sheared completely off. Wonderful. The other bolts came out without an issue. As I searched around the garage for my extractors, I reached for a small pair of vise grips. The last thing I wanted to do was to mash what was left of the bolt ruining any purchase I would have with the extractors. But I took a chance. The vise grips grabbed the bolt nicely and I was able to back the broken bolt out. I now settled in with a fresh box of razor blades and began scrapping.


    Once I had the surfaces clean I reinstalled the clutch cover with a new gasket and a replacement bolt for the deserter. During the reassembly, I tried to remember the general position of the clutch cable and hoped for the best.

    The Yamaha fired up with no problem. I let it run for a good while. No leak. Perfect! My next thought was to test the clutch. As soon as I pulled the clutch in and put the bike in gear the motor died. Crap. Maybe I didn't get the clutch cable set right?

    After that I called it quits. Also I promised to take my wife out to dinner.

    While in the shower, of course, I nearly laughed myself stupid. A Yamaha Seca has a kickstand safety switch. A short time later I fired up the Yamaha, properly put the bike in gear, looked at my unenthusiastic wife, and let the clutch out with a satisfying feel.

    Since that time I've put several leak free rides in on the Yamaha. I can now move on to the next project, adding side case mounting brackets.


    10.29.2013

    Gear Review: BMG Belstaff Adventure Jacket

    At this year's Progressive International Motorcycle Show, I picked up a Belstaff Adventure Jacket from the Paul, the CEO for British Motorcycle Gear aka BMG.  I wasn't really shopping for a new jacket but I had seen this model before and was interested in it. But since I'm tough to fit, I was hesitant to order from overseas; so I was glad to see the BMG/Belstaff at the show.


    The fit of the Adventure Jacket is definitely a different cut from most, more on the narrow side with long arms.  Which means, it was perfect for me! I still needed an XS to keep all the armor in place.  


    The styling is adventure-esqe but not too over the top. 


    Hard plastic nubbins help the jacket slide in case you have a get off. 


    Reflective badges and piping for visibility.


    I am a complete sucker for little details like this.   A cool rubberized Union Jack and contrasting stitching!


    Stash pocket on the right forearm. 


    ID or badge pocket on the left forearm.


    Waterproof chest pocket. 


    Unlike most forearm vents, these actually work! 


    Nice big exhaust vents on the back. 


    The collar has as soft neoprene style material that almost feels gel filled. I found it pretty comfortable however, it was a bit tight.  


    Some sort of grippy material that helps keep the jacket from riding up. 


    Standard zipper for zipping your trousers together with your jacket.


    Rear pouch and kidney padding.


    I found the Knox armor small and loose around my scrawny arms so I swapped in the armor from my BMW jacket.  With a little trimming, it fit perfectly! Some serious protection with the NP armor.


    The zip off sleeves (still not sure what the benefit is) work as pit vents when you partially unzip them. The new version does not have this feature.


    Bottom zipper for the hydration pouch. 


    The super sexy thong strap helps keep the jacket in position when you ride standing up and also has the potential to attract new friends at truck stops and other questionable areas. 


    Summary: 

    I found the Belstaff Adventure Jacket to be a great spring, summer and early autumn jacket. It works well with a layer underneath for chilly mornings, then breathes well when the temps rise. The light weight material moves a fair amount of air but still gives you a sense of protection, unlike most mesh gear.  The arm vents really help, the shoulder vents on the other hand, not so much.  But that might be due to the NP armor blocking the air flow.

    The cut is very easy to wear and doesn't feel restrictive or overly bulky.  I did get to test the crash protection, however it was while practicing slow speed u-turns.  The material held up well and the NP armor and memory foam backpad worked great.   I'm rough on my gear.  I throw it around, wad it up and birds poop on it.  The Adventure Jacket showed no signs of weakness, with minimal loose threads or spots of wear. There are plenty of great design details all over the place.  The rubberized Union Jack, contrasting stitching, zipper garages and useful pockets stuck everywhere.  (Except the cell phone pouch, a bit small these days.)

    If you have happen to see their booth at a Motorcycle Show, check out the Adventure Jacket. It's a good, real world and realistic budget alternative to the high dollar KLIM and BMW gear.  However, you might want to upgrade the armor or wear an armored pressure suit to get the best armor placement.