Showing posts with label 3d Print. Show all posts

8.30.2024

Project Odd Duc: Make it work

 I think I like "Project Odd Duc", we'll see.  

So...the factory mirrors, in all their rubber accordion glory, are getting pretty impotent in their old age. This is a common problem, often remedied with hose clamps, loctite, and other mods.  Others pull the factory mirrors and opt for bar-end style.  I've never had anything but factory, mounted on the levers style mirrors, until now.  I picked these up from Kemimoto via the AtoZ store, the price was good and they have some good reviews.   Initial inspection looks good, the build quality looks to be beyond their small price point, and the install should have been super easy.  Should have been. 

But there is something about these clip-ons (Woodcraft  I think) that kept spitting out the expansion nut. Had I been using any other type of handlebar or clip-on, this wouldn't have been an issue. No fault of Kemimoto, their supplied hardware was not the problem.

So, with the stock option out of the picture, I tried to come up with other solutions. Flying by the seat of my pants and creative problem solving has become a garage honed skill.  My first plan was to use the hardware from an old set of bar ends, but that didn't work.  As frustration mounted and thoughts of returning them started to sprout, I thought about printing a new rubber expansion piece.  Then my friends, then I remembered that I try to never throwaway a piece or part that may be useful in the future.  Yes, this is a reoccurring theme.

By mixing both the factory bar end, hardware from the old bar-ends, and a 3D printed flexible riser, I was able to make a working solution.  Add a little hairspray in the tube for slip-n-grip, and we were all set.  I may end up printing a wider version of this riser for added security.

This is one of the pieces from the neon pink windscreen install on the Hurricane!

Small but looking good.


Whenever my wheel spacer gets here, I can get the 900SS back on the road.  We're going to replace the front tire this weekend, and that should be the last real work for this season, the rest is riding. 

Ok...well, that's not true.  Somewhere between here and Bravaria, is a set of Hepco Becker luggage racks for my bike.  On those racks, I thinking about mounting my yellow Pelican cases. This requires a swap to LED turn signals. That requires replacing the warning lights on the dash with LEDs (all except the low fuel light), and wiring in resistors. Hell, while I'm in there, I might as well replace the dash lights with LEDs, and the brake light (add a flasher module as well). It just keeps snowballing but garage time is awesome.

Or, you know, I could keep it simple and pick up some soft luggage for the rack, to pack up for my planned trip this autumn. We'll see.  Soft luggage has it's benefits, but you can't put stickers on it. =\   Heated grips will get installed at some point too, can't live without those. 

Looking forward to looking rearward with these mirrors.  I'll report back but so far, I'm impressed with their build quality.  

- stay safe out there

6.07.2023

Project CBR600F: Neon Nights

 Back in the early days of this build, a guy on the F@cebook Hurricane Group posted a vintage 80s Lockhart windscreen for sale, it was neon pink and I had to have it.  The price was a bit salty but man, it was like concentrated 80s.  I tried to come up with ways to mount it but eventually gave up and just decided to stash it for later.  

Well, today is later.  I printed up some TPU (flexible filament) spacers, ordered longer bolts and decided to just freaking do it already.  I was worried about getting the mounting holes lined up so, so I pulled the black fly screen, centered it as best I could, and clamped the two together.  I should have taken pictures, but I get excited and want to finish the work.  

I used a hot pick and made pilot holes, even starting with a small drill bit, I had some chipping on the screen.  Thankfully most of it is covered by the bolt caps, hopefully the cracks don't get worse. 


Behold the cherry on top of my Cyberpunk style Hurricane: 


I'm currently printing some taller spacers to test, with a higher infill so the don't crumple.  Probably need to get some shorter bolts too.  We'll see. 

The pictures make it look more orange, but I promise you, it is very very pink. Now, I need to get back to the idea of making a new warning light cluster, using an LCD panel and Arduino with some cool animations, but that's going to take a lot of time. 


Stay safe out there. 


**UPDATE**

I printed a different sized spacers, taller on top works better.


8.27.2022

Mods mods all kinds of mods!

I printed a new mount for my voltmeter, only to find out the whole thing was dead.  Sad trombone. My guess is that it couldn't handle the vibrations and shook itself to death.  So, I ordered a new one, along with the motocross style handguards I've been wanting.  Both were cheap on Amazon, and arrived in a few days.  The new voltmeter is right where I can see it, plus now includes a power off button!  


The handguards took some bending to get into place and came with quite possibly the worst hardware I have ever seen.  Oh well, what do you expect for under $30.  


I realized I had forgotten to put an oil change sticker on one of our cars, so after I did that I had an idea.  Why don't I use these for my bike?  I have just shy of 500 of them, more than I'll ever use.   So, use one I did. 

After my ride today, I decided I should probably adjust the manual cam chain tensioner, but neither of my 16mm wrenches will fit, it's a really awkward spot and I can see why Honda moved it to the left side of the engine case on the F2 series.  Eh, maybe next time. 


Stay safe out there. 

8.22.2022

Project CBR600F: Printing pads and hunting leaks

After an extended ride (for me at least) on Saturday, which involved some rain, and some highway testing, I noticed my shifter had chewed up my newish boots.  The bottom edge of the shifter pad had torn through, so I priced some replacements, then realized I could just make my own and save time and money. 


I don't think this is factory Honda work. 


A little reshaping.


15 min in TinkerCAD


Some time later... 


Perfect!

So, let's go back to leaks.  Leaks have plagued this bike from the start.  Remember project LoL (Lots of Leaks)?  Well, I still have 2, one I thought I fixed and one is new.  The shifter seal is actually leaking worse than before I replaced it. So, during my ride on Saturday, I picked up a new one and plan on swapping it this week. The new mystery leak, is coolant.  Just a dribble on the garage floor, under the stator cover, with a drip hanging off.  However, I cannot find a source.  I pulled the tank and looked but the only thing I can think of is that it's from a hose and ran down on to the top of the crankcase, then down the side to the lowest point, the stator cover.  I topped off the radiator, and will burp it in the next few days, then continue to monitor for leaks.  

I was worried it might be head gasket related, not for any reason beyond my generalized anxiety, so I pulled out my fiber camera and checked inside the engine. Oil looks good, no milkshake of death, and inside the radiator overflow looks good too. 


Stay safe out there... 

8.02.2022

Project CBR600F: Pack it up, pack it in. Part 4 With super extra bonus content!

 The wiring was simple, however the automotive wire pack I ordered turned out to be hot garbage, so I used what I had on hand to make the "extensions" between the Honda harness and the brake lights.  It's ugly, sinful, and would make Honda engineers cry, but it's my problem, and it's functional. 

I also added the brake light strobe from Super Bright LEDs that I mentioned previously.  Love these things! 


I also cranked out some 3d printed bits to finish other odds and ends. 


Airbox plug in PETG


Switch plate seal in TPU


"Let there be slightly more light!"


GPS mount, mk1. 


Success!


I also increased the mains to 108. So, really, the only thing left to do is to test ride! 


Stay safe out there... 

7.21.2022

Project CBR600F: Pack it up, pack it in. Part 2

 The mounting is mostly complete.  The printed spacers are working great, but I will need to make a little Z shaped bracket to secure the lower front corners.  All the bolts have wide fender washers on the inside of the cases to help spread the load.  I pondered the idea of using thin plastic cutting boards but we'll see how this holds up. 

I do need to replace one long seat bolt since it's only got a few threads into the frame nut.  Then it's time to seal up the holes I had to widen, hit the bolts with some blue locktite, and start wiring the new tail section.  


The right side needed longer spacers due to the magic ECU box.


Next is wiring, what fun!

Stay safe out there. 

7.17.2022

Project CBR600F: Pack it up, pack it in. Part 1

 My 108 main jets have arrived, but I have yet to install them.  My wife injured her knee last week, so I've been busy to say the least.  Thankfully she should be ok in a couple of months, but it definitely wasn't pleasant.  I'm not comfortable taking the chance of something happening to me while she's out of commission, so the bike is back in the garage waiting patiently. 

During this down time, I plan on increasing the mains. I've also been thinking about mounting my old top case (Pelican that was on my XJ), as well as the matching case, as a set of side panniers on the CBR.  I have mixed feelings about hard cases.  But as I was trying to mock up the mounting, I broke my license plate mount (one of my first 3d prints).  Since I have to undo a serious amount of harness wrap and wiring to remove the plate lights, I figured I might as well go all in and do a real mock up.  


I should be able to use the passenger peg frame, as well as the seat mounting points to attach the cases, using some 3d printed spacers and longer hardware.  I'm not concerned about passenger accommodations since I don't ever plan on having someone on the back. 

The cases aren't light, coming in at 6lbs each.  So that's a definite disadvantage over soft cases, but these should give me some additional protection in the event of a smash-em-up, or low side.  But, this poses a problem, since my signals won't fit, and my tail light will be recessed. Originally, I was thinking about cutting the side cases to mount circle LED lights, 1 for brake/tail, and one for signals.  But, I found these on Amazon, and they'll be even better, on mounted vertically on each case. 


So, I might as well get some stuff done!  Lights should be here later this week, the new plate mount is printing right now.  That will just leave wiring, printing spacers, drilling holes and mounting.  Wish me luck! 


Stay safe out there. 

6.26.2022

Project CBR600F: Gotta hole? Plug it!

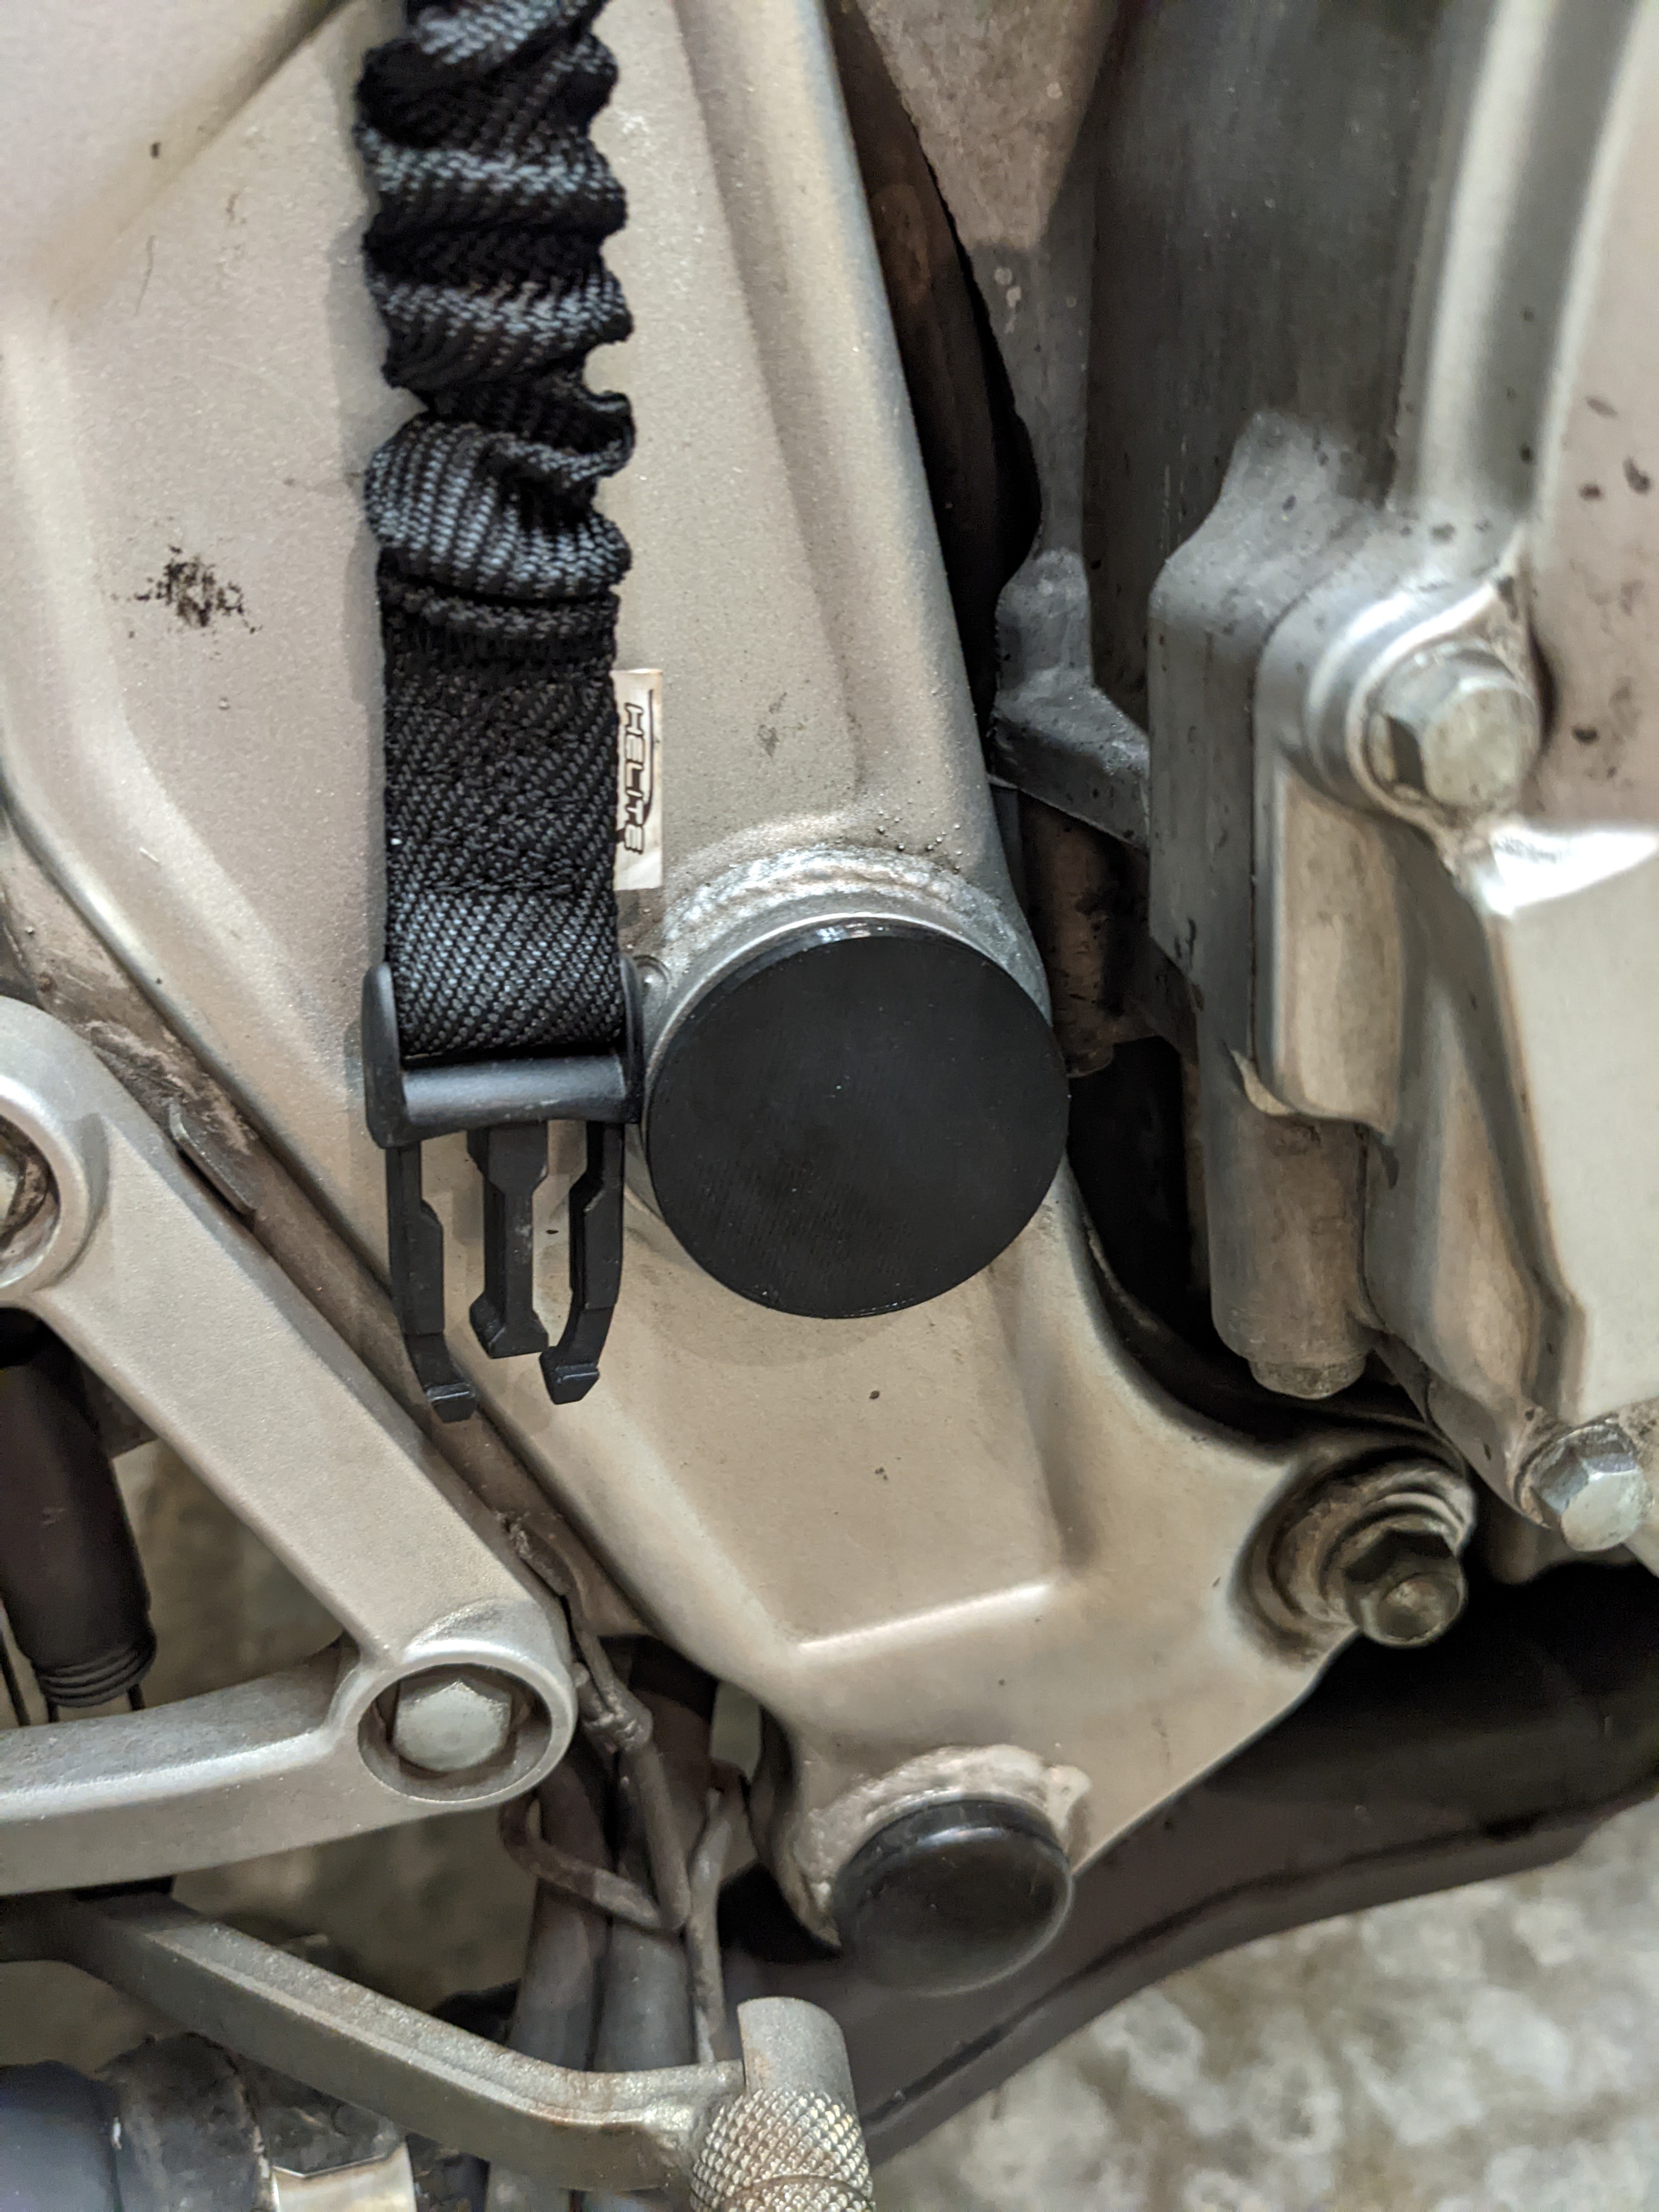
 The swingarm bolt on was missing the rubber caps, or maybe this bike never had them? My XJ had a set, so I wanted to cover up the holes.  So, a few quick measurements, load up the TPU filament and a few hours later, I have a pair of plugs!