My first real moto-trip was in 2015, when a friend and I rolled out to Gettysburg to meet up with some internet riding buddies from the UTMC. On that trip, I was not riding my own ride, and made the dumb mistake of trying to keep up with riders who were much faster than me. The other mistake was not looking far enough ahead while riding, and through the curves. So, I had me a good ol' fashioned lowside on this downhill hairpin.
Thankfully, my friend running sweeper helped me get my bike upright and hung out while I let myself calm down and let the oil go back to where it's supposed to be in the engine. The bike only suffered minor damage (bent bars, lever, and scratches); but my pride and confidence took the biggest hit. I rode with them the rest of the day, there was no mockery or judgement but it did inspire many tales of other people's crashes and close calls.
The next day, we started the trip home via US50. Riding into the mountains after my low side was, uhm, less fun. Where previously I was looking forward to the route, I was dreading each turn when a caution sign popped up. Stress levels were high, and went higher as the last leg of the mountain route was in the dark with a terrible headlight. I made many locals mad with my snail's pace.
Fast forward to 2022, I have the Hurricane road worthy and a plan to meet up with some of the group from 2015. This time, taking US 50 to our destination. You can read the details here. Once again, I didn't enjoy the twisty sections, especially in the rain and cold. As a matter of fact, I decided to avoid them altogether on my return trip and ran the slab most of the way.
This year, I was determined to not let that low side from 9 years ago stop me from enjoying riding. If I couldn't get over it, then why am I even riding. So, I set out to retrain myself on tackling curves. I knew I wasn't doing something right, so I started watching video after video. Then, armed with that knowledge I set out on rides with the goal to practice what I was learning and to put that fear out of my head. I was riding a bike built for curves, with fresh quality tires; now my brain needed to get with the program.
Finally, it started to click and the fear started to recede.
With the Ducati packed up, I hit the road and soon found myself on some beautiful back roads in SE Ohio.
I wasn't sure of my mpg, so I filled up whenever I hit 80 miles on the trip meter. I ended up getting an average of 35mpg with a max of 45mpg. Much better than I get around town.
Eventually, I arrived a Parkersburg right after dark. Soaked in the hot tub, ordered GrubHub and hit the sack. I had a full day of more exciting roads tomorrow, time to rest up.
I ended up getting stuck behind this guy right before the road gets twisty.
Not wanting to be stuck behind that trailer, and it was getting close to lunch. So I stopped at the same McDonalds from the trip in 2015 and took a break. With food in my belly and the trailer far ahead, I gave myself a bit of a pep talk and hit the road.
Taking the advice of many internet riding instructors, I talked myself through the technical sections and soon found myself smiling and enjoying the ride. I still had some level of apprehension but it was no longer in charge. Some corners and hairpins I handled excellently and others could have been better. But there were no dangerous or unsafe moments, no crossing the double yellow or the white line; so I call that a win. Soon, I hit the gas station in Cold Springs and stopped for a break.
I love diner/service station combos like this.
Eventually I hit my favorite gas station of all time, the Deerwood Station near Auroa WV. You don't even have to pre-pay for fuel. As the nice lady said, "Honey, you just pump what you need and come back in to pay.".
Getting tired, with miles to go.
The route had some great sections with many uphill and downhill hairpins, and chicanes. If I had more time, I would have turned around and hit them again but I was on a schedule. Maybe next year. I swear my camera (GoPro knock-off) runs out of battery right before all the fun sections. So, sorry, I don't really have any good video. Maybe that will be something I upgrade next year, or maybe just bike mount this camera and give it constant power. It does kinda suck having a camera on my helmet.
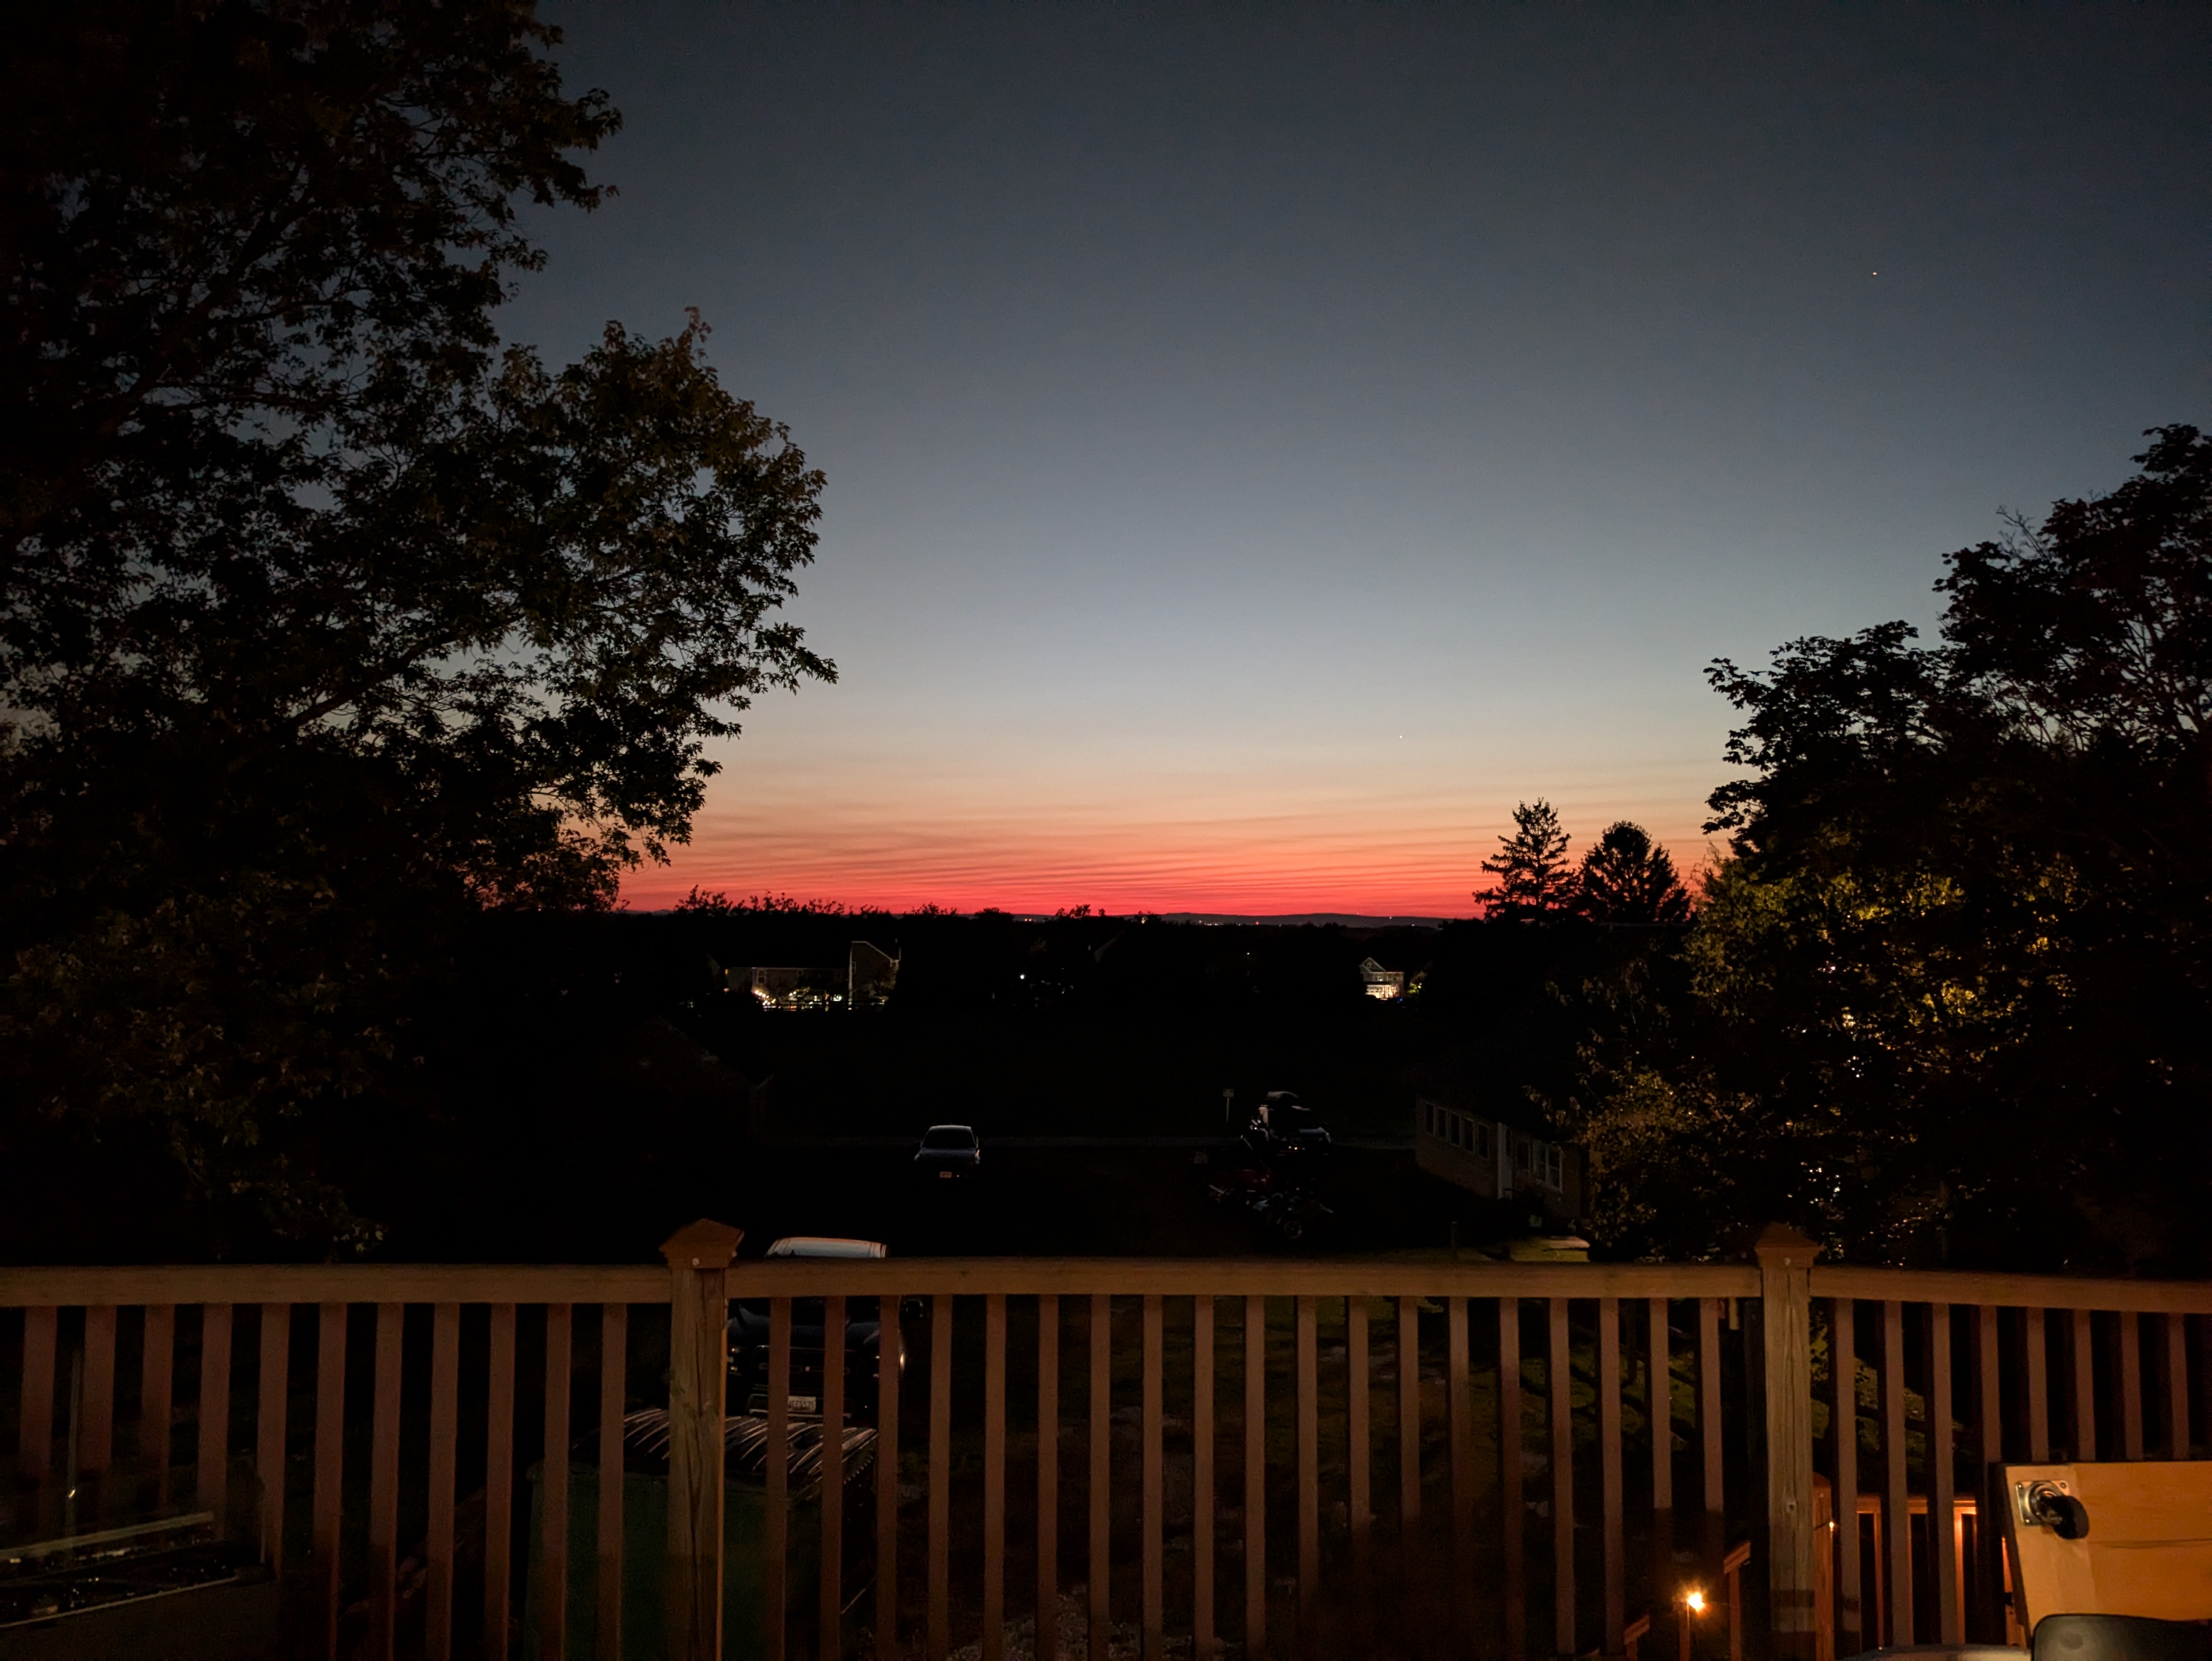
Eventually, I got to Maryland, then then I was in WV again, then back to Maryland (this area gets confusing). The last stretch of my trip was a bit of slab time, which was fine. The sun was setting and the temp was dropping.
Some where in Maryland.
I hopped off the interstate and on to some nice back roads. I love WV and Maryland, I hope to end up out this way someday. Riding past historic houses, farms, monuments, and a battlefield or two, I finally arrived at my destination.
My bunk for the weekend.
The next day, with a few more riders onsite, we walked to breakfast and then hit the road for a group ride which was supposed to last all day and cover a lot of great roads.
At breakfast, I started to feel "off", like maybe I was getting the plague. But I pushed it aside and now, at the first overlook stop, it was worse. I bowed out of the rest of the ride, and initially thought I'd go back to my bunk and rest, then head out on my own. I really wanted to ride to Harper's Ferry but on the way back to our crash pad, I stopped for lunch, or was it dinner at that point?
This meal healed my body and soul. See, my maternal side is from PA and NC. My paternal side is from Eastern KY and WV. So, not only does this geography call to me, so does the food. Where I live now, we lack 2 major things: History and Mountains.
With a belly full of pickles, pork, and sodium, I checked my watch, 15 minutes until the Antietam Battle Ground closes for the day. Not worth the ticket price, but there are plenty of smaller battle sites and monuments to visit all around.
I knew about this ahead of time, so it wasn't a concern.
Well, it is leaking more than before. Maybe due to the extended highway time.
Horizontal Plug
Vertical Plug
Later that night, we all reconvened and set out for pizza and drink. It was great time, and we stayed up until the wee hours, ok, I went to bed at 1am. The next day, with another friend arriving, I hung around and waited. After more breakfast and socializing, I had to hit the road. I planned to run the super slab all the way back to Parkersburg, riding into the sun but at least the weather was nice.
In one section with a lot of traffic, I noticed a truck riding another motorcyclist's tail. I down shifted and sped up to see what was going on. A guy riding a DR650 was trucking along, a bit under the limit. The truck peeled off, and I rode next to him, thinking maybe he was having issues. He gave me a thumbs up, so we paired up for a bit. Eventually he waved, and took an exit off the interstate. I think he was just moving at his own pace, but it was fun to buddy up for a bit.
I hit Parkersburg after dark, again. This time staying at the same hotel from 2015. While I was riding through town, I remembered a pizza place I ate at with my oldest when we went to Point Pleasant earlier in the year. The stars aligned and the Moto Gods smiled upon me, and I pulled up to a stop light and there it was. Pizza time.
With a full belly, it was time for sleep. I asked the nice lady at the front desk if I could park my bike under the overhang like last time I was there.
The next morning, the temp had dropped to 48 degrees and wasn't expected to get much higher. Good thing I have layers and heated grips. I packed my gear, and packed my belly full of food, stashing my leftover WV pepperoni roll, and breakfast in the molle bag.
BYOM - Bring your own mug. Those waffles were damn good.
This little guy will be back.
Riding into the cold headwind was a test of stamina. I was at full tuck, with my legs pressed as close to the bike as I could. With heated grips on high, my hands were doing OK, but I had to warm them on the engine from time to time. I decided to stick to a schedule of stopping every hour, or as needed. Running US50 to US32, the traffic started to disappear. There were long stretches where I didn't see a car for 15 minutes or more, it was nice. I ended up seeing some guys (one on a Diavel, the other an HD) at random stops as our routes overlapped. It was not time for lunch but I needed a good snack. Remember that pepperoni roll?
It heated up nicely on the rear header while I sat and warmed myself.
I rode into some rain for a bit, still with the temps around 50. Ride, stop, refuel, warm up, and hit the road. Rinse and repeat. Eventually I hit my home state, then my home. The Ducati ran flawlessly, and I only had to top off the oil when I got home. It was far more comfortable than the Hurricane, and felt like a cheat code in the technical sections. However, my arm (still have to stop myself from having death grip at times) and my butt were pretty sore. But that's me, not the bike.


That's a lot of miles to be wadded up on an old sport bike, but it was fun.