


The Delkevic baffle took all of 5 minutes to install, and it has definitely dampened down the raspy tone. I'd still prefer it to be quieter but I'll take what improvement I can get.


My cheap Trackside USB charger was acting up and I noticed it wasn't charging my "speedo" at all. Turns out this is a common problem. So, I swapped it out for a new one from Amazon that also has a volt meter, then designed and printed a mount. I can't see it while riding, so I may move it to a bar mount in the future.


The jetting saga continues. I've increased the Main Jets to 115 which made some improvement at higher RPM range. Using this handy-dandy guide from Factory Pro, I have a much clearer path ahead. A lot of the carb tuning docs I was reading were for mechanical carbs, not CV. On CV carbs, the main jet plays a much broader part in the overall jetting. Throttle position doesn't really mean much either, so RPM range is more important.
The next step is to increase to 118 and see how that does. If it's still not great, I'll jump up to 120. Then it will be on to tuning the rest of the range if the high RPM range is good.
Stay safe out there.
Long time no blog! Work and life are busy so, that leaves precious little time for wrench twirling. I've been trying to dial in the jetting but it's proving to be difficult. I also used a q-tip, some Brasso, and a drill to polish the float valve seats. This seems to have resolved my weird overflow issue with carb 3. I have yet to be able to recreate the overflow, by hitting bumps or using the test tank.
I used my fancy USB fiber optic camera and checked out the cylinders, really just the piston crown, while I had the plugs out. Number 3 was definitely the culprit.


With the jetting frustration building, I changed direction and decided to do a much needed mod. It's no secret that I hate clip-ons, and my back hates them even more than I do. So, I wanted to switch to dirt style bars like I had on my XJ. However, the Hurricane doesn't have stock holes and the idea of my life depending on bar mount kit, and some fat washers to distribute the weight didn't really sit well with me. So, I started researching alternative ways to mount them. Eventually, I found a company called Moto-CNC out of the UK. The make a "street fighter kit" for 37mm forks. It's a bit spendy at $180 but man, it's a solid piece of kit! I opted for the taller risers to clear the fork tubes, however, due to where the bars "mount", it isn't really needed.


Routing the cables turned out to be pretty tricky. I'm still trying to track down a set of longer throttle cables. I bought a set from a VFR800 but the cable "throw" is too short. Oh well, the stock work well enough for now. The posture is soooo much better now and steering isn't as affected by our crappy roads. These are the Pro-Taper Aluminum Sport bars, with super thick side walls . I can definitely feel a big decrease in vibrations. Thankfully, I didn't need to move my dash panel, or switches. It all worked out well.
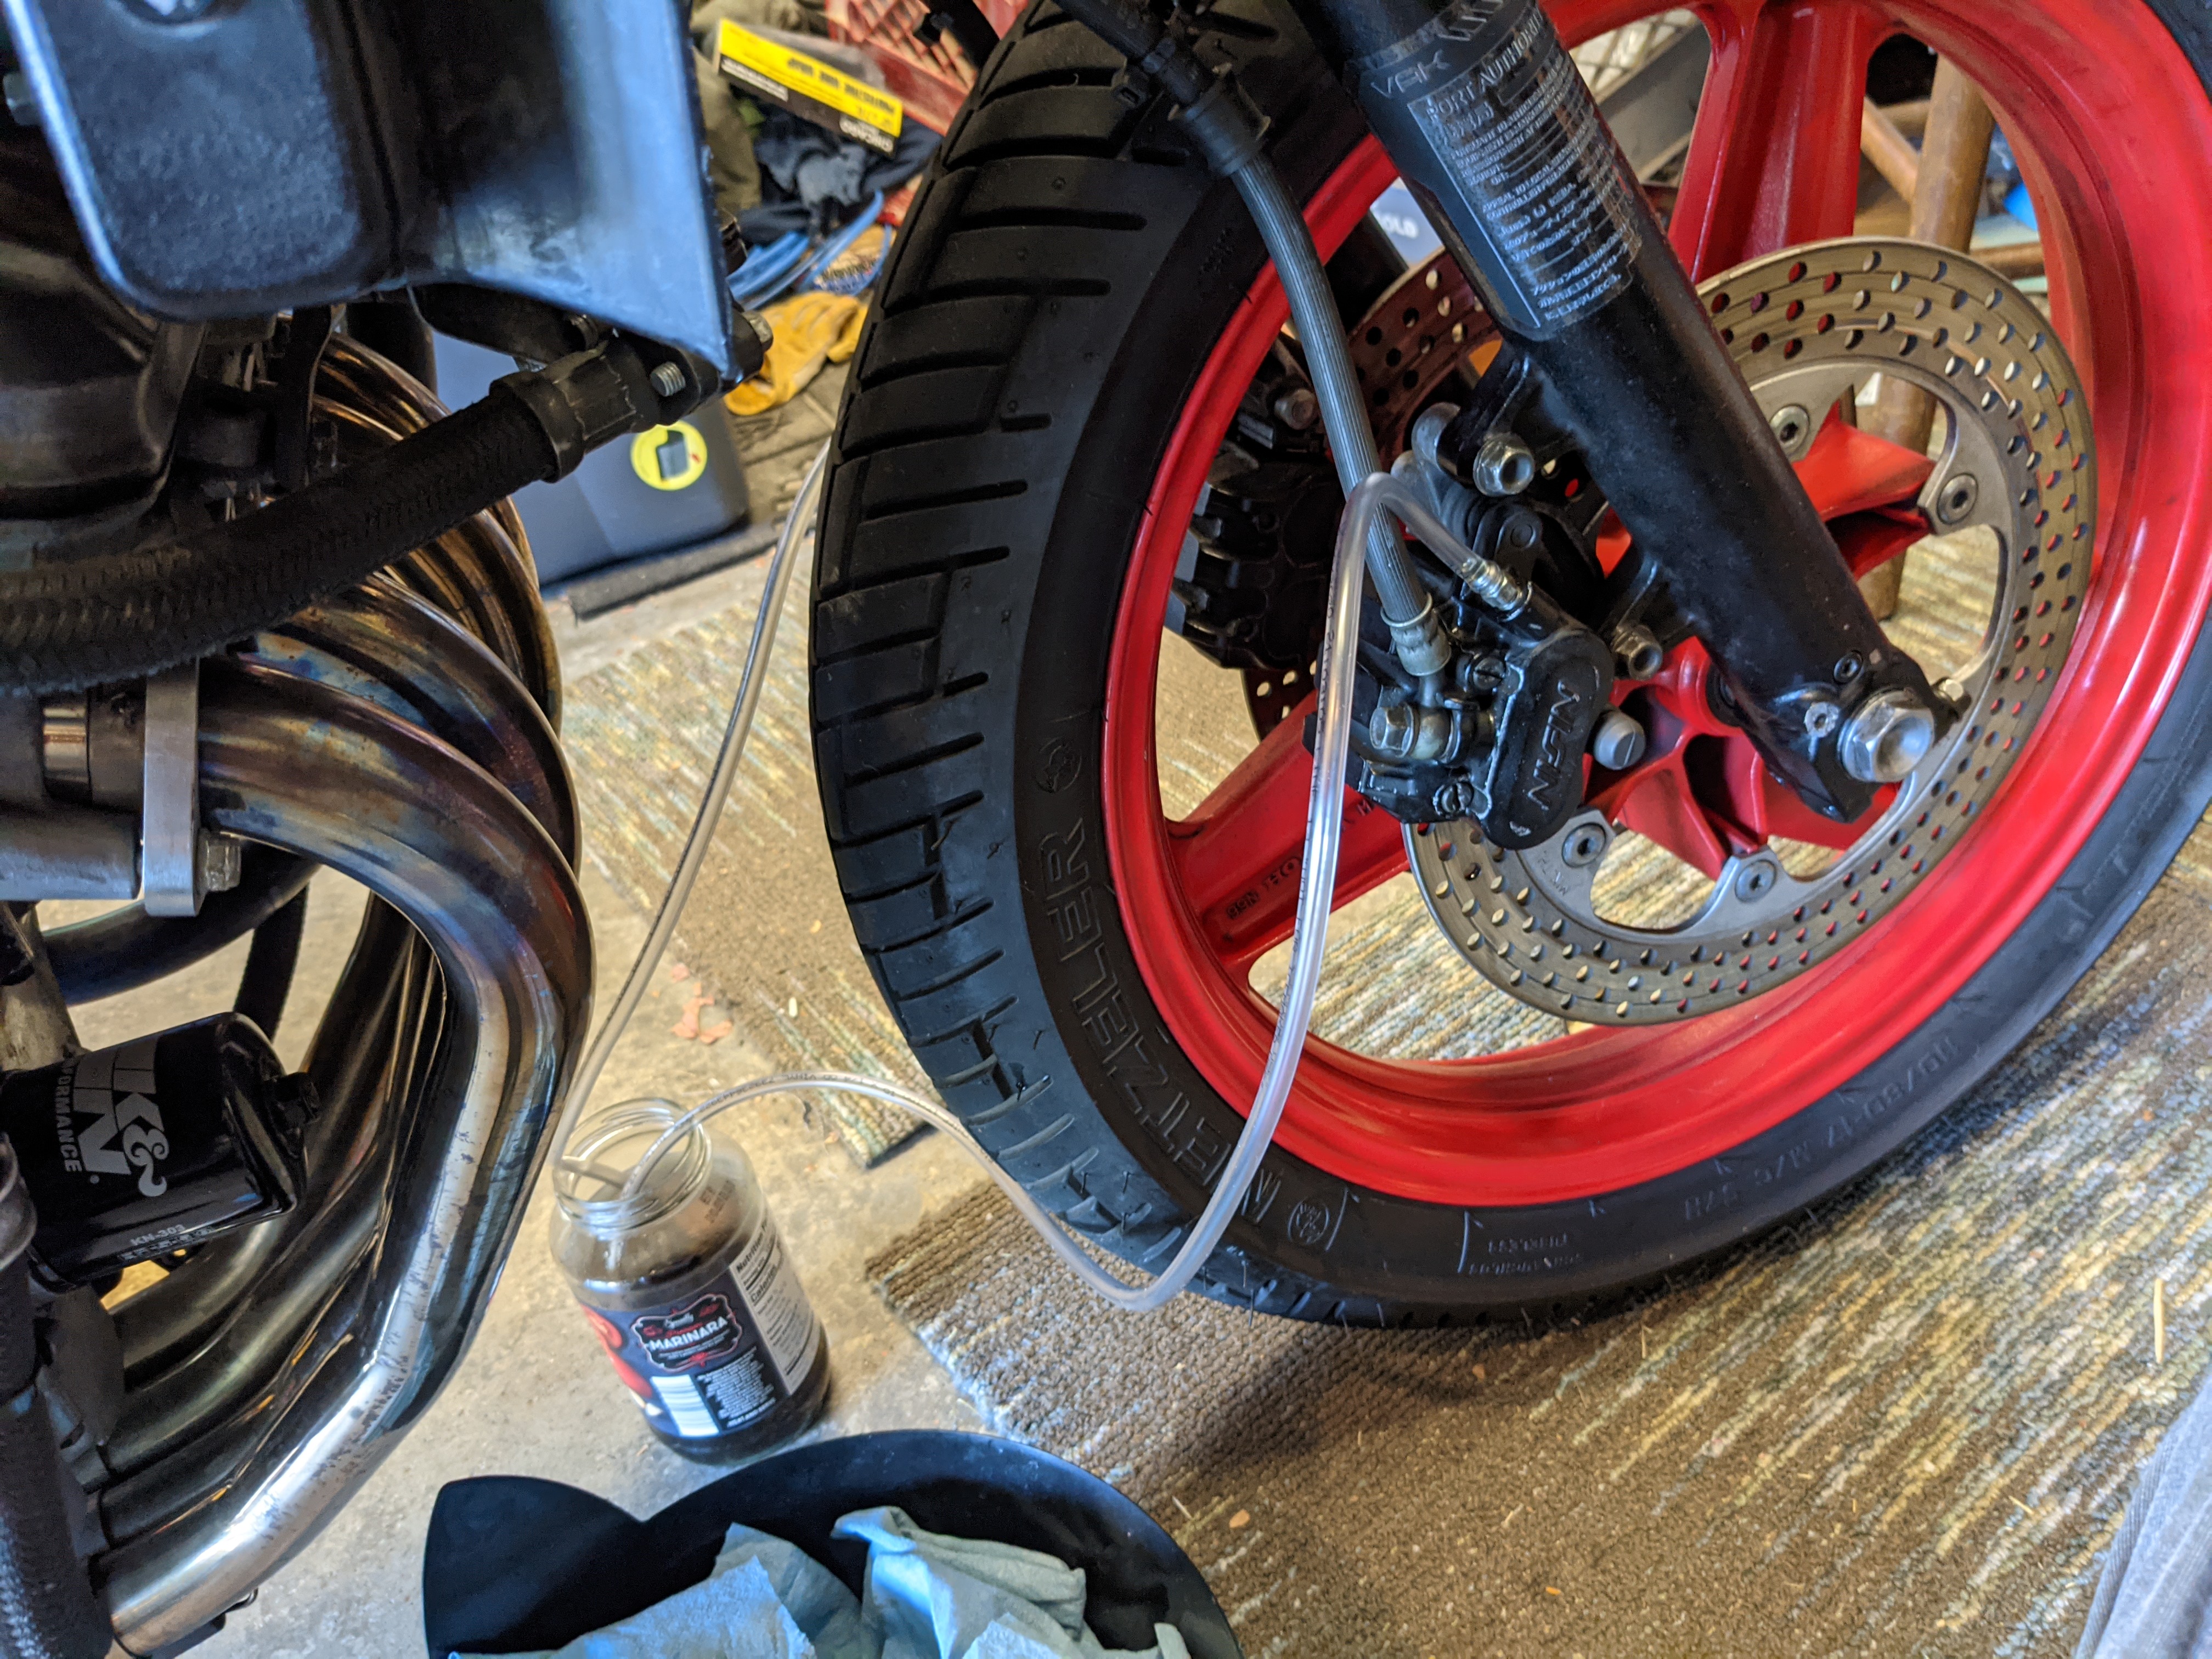
I did have to swap out the top front brake hose with a rear hose from eBay . Worked great and will hold me over until I can do braided lines next year . With the front lines flushed and bled, I decided I should probably do the same for the rear .


Due to my loud work time (test rides, general vroom vroom work) being very limited, I needed to call in reinforcements from Furuhashi Racing. He has more motorcycle knowledge than I'll ever accumulate, and his availability is the reverse of mine in most ways. After a test ride, which of course didn't include all of the bikes weird issues, the plugs were pulled. The plugs are showing very lean.


So, a plethora of main jets, and a step up in pilots have been ordered from Jets-R-Us. Since they're only a few states away, I hope the shipping time is quick as I have a trip planned later this year. FYI they have free shipping, so instead of paying $7.99 for shipping, I added a new magnetic oil drain bolt which bumped me up to essentially the same cost. Shop smart, shop s-mart.
K said the power difference should be noticeable once the jetting is correct. Hell, it already feels super fast to me! Fast bikes are fun, but I do enjoy wringing out a small bike vs holding back on a fast one.
Ah, I also have a vintage factory service manual en route from eBay. You know things are getting serious when you call on the big book.

I'll be missing Ride To Work Day, but it's for the best.
The excitement continues; stay safe out there.
**UPDATE**
I pulled the carbs and stripped them down, then realized the main jets were 105s. Stock size is 110, which I know I verified back in 2019; and it definitely didn't run this poorly then. I did some digging and found that when I replaced the bowl gaskets in late 2019, I replaced the main jets too. They were the wrong size! So, I ordered a replacement set of 110s, 115s, and 118s; rather have too many jets than not enough! Now, to find the stock jets and float valves I removed in 2019 to compare with what I have. I bet there may be other sizing issues related to this damn kit, like the float seat on 3 or 4.
Today the Hurricane was scheduled for surgery. With ratchet straps in hand, it was time to restrain, I mean secure the patient. I had planned on using the motorcycle lift someone gave me years ago, but it really only works well on bikes that aren't a stressed member frame. So, I lifted with a combo of 2 ratchet straps around the frame, and a standard floor jack and 2x4 to spread the load.


The front wheel removal was pretty standard, as was the actual fork removal. I loosened the cap before taking them out of the triple tree, to save myself from serious frustration later on. However, it mutated and came back as a tool failure.


Thankfully, the bushings were still in good shape, even if the oil was black as the void. The seals and dust boots were rock hard and probably old enough to vote. With the legs disassembled (one at a time to avoid confusion), it was time to drain and clean the parts, then test my fancy DIY 3D printed fork seal driver! What's a project without a trip to the store for tools or parts? I had to track down a long reach 6mm Allen driver for the bottom bolts. Glad there's a Harbor Freight within a reasonable distance.


The flanges on the driver snapped off, one at a time. Granted, I was whacking them with a dead blow hammer when I really should have still used a piece of PVC to drive them. So, I headed to the store again, for a 5' section of 1.5" PVC. By using the pipe, an old seal, and the backup washer between them, I was able to drive home all the seals. With them in place, it was just simple reassembly.


The stock horn on most motorcycles sounds like someone is strangling a goat. The horn on my Hurricane is so quiet, it doesn't even work. After a few "I really wish I had a horn" moments on my test rides, I decided I should probably order the Denali Soundbomb Mini from Revzilla.


For most installations, this is just plug and play. However... that wasn't the case with my bike. I believe this is due to the full LED conversion and how the OEM horn shared a power feed from the marker lights. When I would press the horn button, the front marker lights would dim and the horn would go "bloop".
Before hacking into the harness, I took the horn switch part to make sure it was clean and working properly. Besides being dirty, it was working just fine.

With that checked, it was time to get cutting. I unwrapped the harness, found the Wht/Grn wire and snipped it. To test, I ran a hot lead back to my distribution block. I turned the key, hit the horn button and HONK! Damn, it's loud. With the power of honk confirmed, it was time to give it some proper connections and clean up the wiring.


Stay safe out there.

